
User Setup
Maintenance > User Setup
DonorSnap allows unlimited users. Each user can have customized security, rights, and screen layouts.
Click the blue Add button to add a new user; click the Edit (pencil icon) to Edit an existing user.

After clicking the add or edit button, you will see the expanded view below:
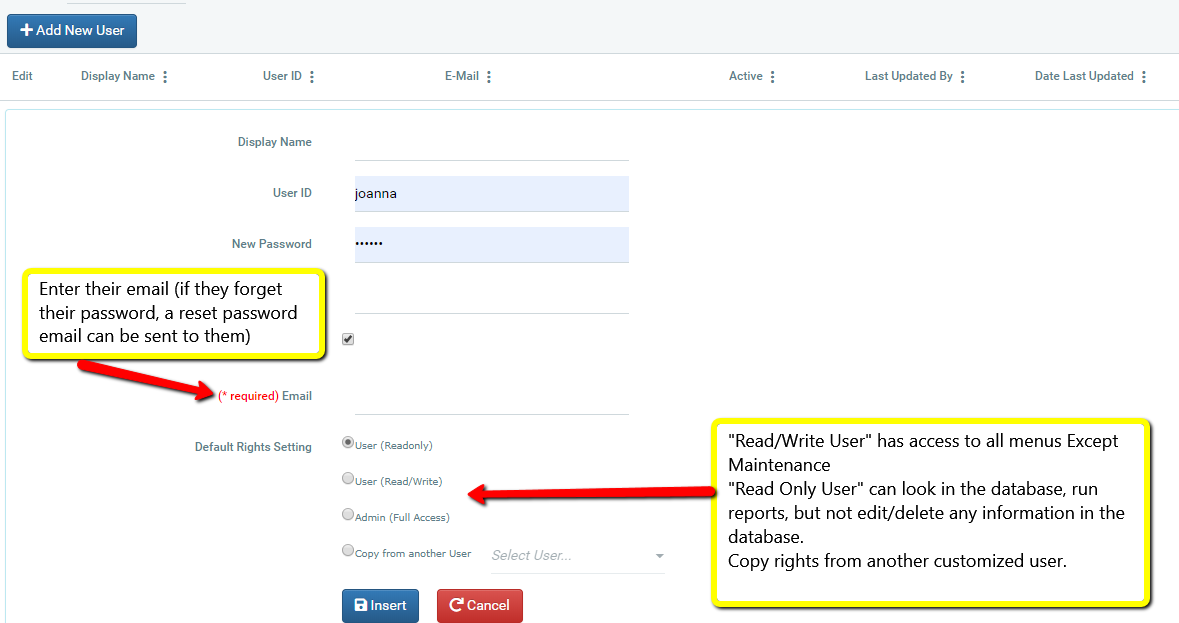
Enter the user’s information and select their default rights:
- Administrator: full access to the program
- User (Read/Write): access to all features of the program Except the “Maintenance” tab
- User (ReadOnly): Read-only access within the database; can run reports and all other features
Note: These are not actual user roles or levels of a user. Instead they make it easy to start creating new users with predefined rights. After creating the user with a predefined set of rights, you should further customize them as needed.
Custom Rights
To adjust the user rights, select the desired user and click the Rights tab.
Select which pages and tools the user will have access to. For each tab, you must select which type of access the user has. Read/Write allows adding new and editing existing data. Read Only does not allow the user to change any data in the tab.
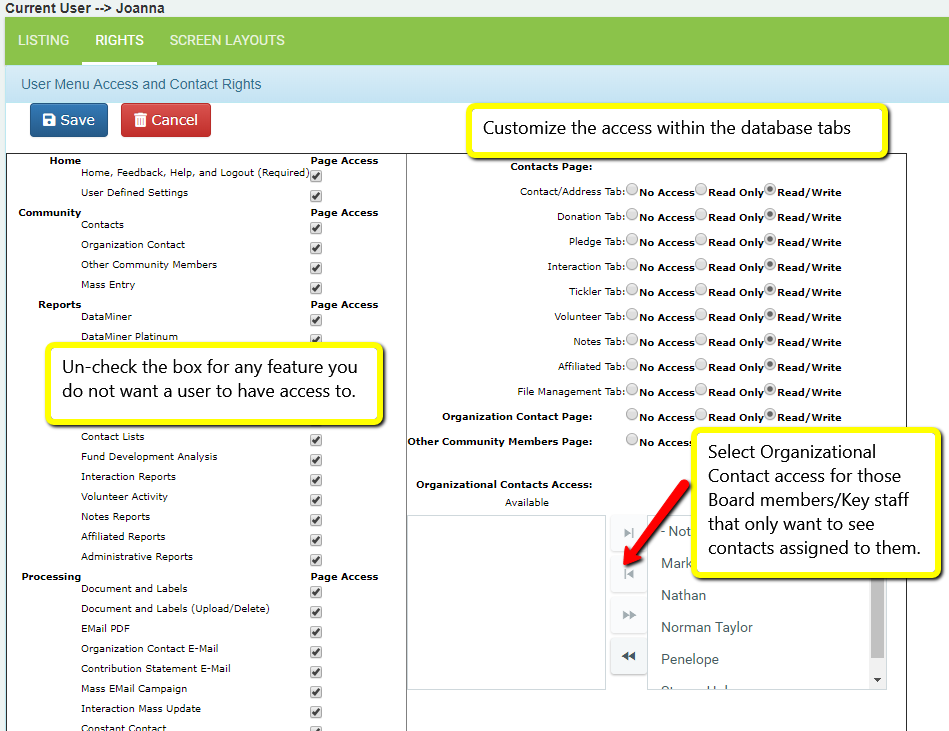
Organizational Contacts Access
Limit the contacts that this user has access to. If you would like this user to be able to view all contacts, make sure that all available org contacts are moved to the “Selected” box. If you wish them only to have access to contacts linked to selected org contacts, move the appropriate ones over to the right box.
NOTE: If you allow access to DataMiner Platinum, users will be able to view/export any information from the database using this tool. They will not be limited to the selected Organizational Contacts.
Custom Screen Layouts
Use the Screen Layouts tab to adjust field visibility for both the “grid listing” fields and the “page display/edit” (data entry) fields.
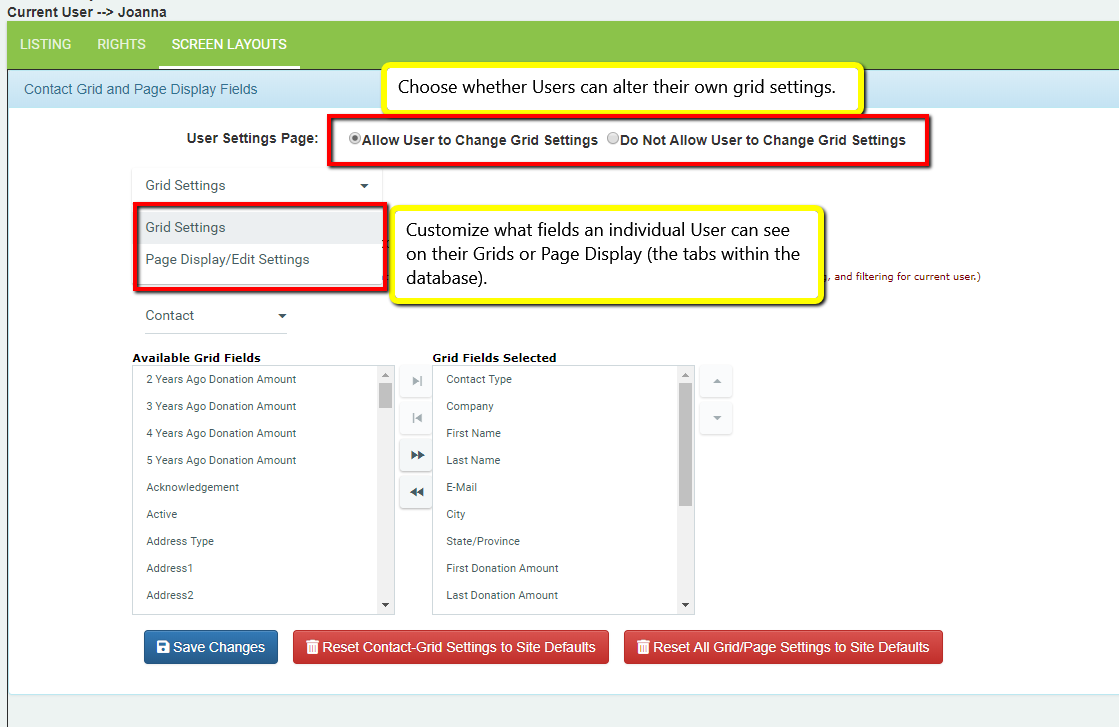
- Select either Grid or Page Display settings.
- Select which tab you would like to change in the second drop-down box.
- Move the fields you would like the user to have access to into the “Fields Selected” box on the right.
(Fields in the left box will not be accessible to the user.)